Share
Enterprise storage systems are increasing in complexity, with large amounts of data distributed across a diverse range of different technologies in hybrid-cloud and multicloud environments. Cloud Data Sense provides you with a way to stay on top of all of your data assets, no matter where they’re located.
In a previous post, we showed you how to deploy Cloud Data Sense in the cloud. But you can also deploy it to a Linux host in your on-premises data center. This quick-start guide shows you how.
Use the links here to jump down to get started right away, or read on for more details.
- What Is Cloud Data Sense?
- Data Sense Deployment
- How to Install Data Sense On-Prem: Step-by-Step Instructions
- A Setup to Suit You
What Is Cloud Data Sense?
As part of BlueXP classification, Data Sense automatically maps and classifies your data across your entire data estate, identifying data by sensitivity level, data type, usage, and many other metrics to give you more data governance and control.
Data Sense Deployment
You can deploy Data Sense in a number of different ways. The following procedure is specifically for the on-premises installation that requires an Internet connection. Note that the installation method for on-premises deployment without Internet connectivity differs from the steps shown below.
This implementation will consist of the components and connections shown below.
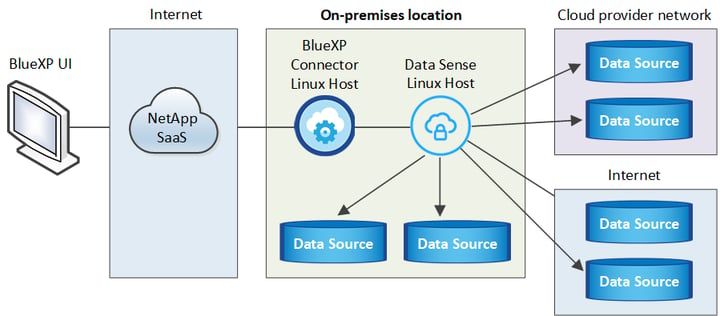
Data Sense on-prem installment components
Once you've familiarized yourself with the setup shown, you'll be ready to deploy the software to your on-premises Linux host, as outlined in the following steps.
If you prefer to use our video guide, then simply click the play button to watch the tutorial below. Otherwise, just skip this part and scroll down to the next section.
Watch the Video
How to Install Data Sense On-Prem: Step-by-Step Instructions
Installation Requirements
Before you begin the installation process, you'll need to set up an environment that meets certain requirements. The following is a quick-start list of the main prerequisites for deploying and using Data Sense.
- BlueXP Connector
First, you'll need a BlueXP Connector installed in your on-premises network. If you haven't yet set this up then check out our documentation on how to set up the Connector. - Linux Host System
You'll also need to prepare a virtual machine (VM) to host the Data Sense software. Depending on the scale of the data set you intend to scan and the timeframe you have to scan, you should provision a VM in one of the three following sizes.
|
System size |
# of CPUs |
RAM (ensure swap memory is disabled) |
Disk |
|
Large |
16 |
64 GB |
Either:
Or:
|
|
Medium |
8 |
32 GB |
Either
Or:
|
|
Small |
8 |
16 GB |
Either
Or
|
The host environment must also meet the following specifications:
|
Operating system |
Required software dependencies |
|
Red Hat Enterprise
CentOS
Ubuntu
|
Docker Engine
Python 3
|
- Outbound Internet Access
You'll also need to ensure your Data Sense deployment has outbound access to the Internet so it can access the following endpoints.
|
Endpoint |
Purpose |
|
https://api.bluexp.netapp.com |
Allows communication for BlueXP and NetApp accounts. |
|
https://netapp-cloud-account.auth0.com |
For user authentication via the BlueXP website. |
|
https://support.compliance.api.bluexp.netapp.com/ |
Gives access to manifests, templates, software images, and enables sending logs and metrics. |
|
https://support.compliance.api.bluexp.netapp.com/ |
Allows data to be streamed by NetApp from audit records. |
|
https://github.com/docker |
For packages required prior to installation. |
- Open Ports
You need to make sure the relevant ports are open so that your system components will be able to communicate with each other, as follows in the table below:
|
Connection Type |
Ports |
Description |
|
Connector <> Data Sense |
8080 (TCP), 443 (TCP), and 80 |
|
|
Connector <> ONTAP cluster (NAS) |
443 (TCP) |
ONTAP clusters are discovered by BlueXP using HTTPS. Ensure any custom firewall policies adhere to the following:
|
|
Data Sense <> ONTAP cluster |
|
Network connectivity between Data Sense and each Cloud Volumes ONTAP subnet or on-prem ONTAP system is required. Inbound connections from Data Sense must be allowed by your Cloud Volumes ONTAP firewall/routing rules. Data Sense needs the following ports open:
Access from Data Sense is required in your NFS volume export policies. |
|
Data Sense <> Active Directory |
389 (TCP & UDP), 636 (TCP), 3268 (TCP), and 3269 (TCP) |
Active Directory must be set up for your users. Data Sense also requires Active Directory credentials in order to scan SMB/CIFS volumes. Make sure to have the following Active Directory information on hand:
|
Running the Data Sense Installation
Once your prerequisites are all in place and you’ve installed the Connector, follow these steps to install Data Sense in your on-prem system.
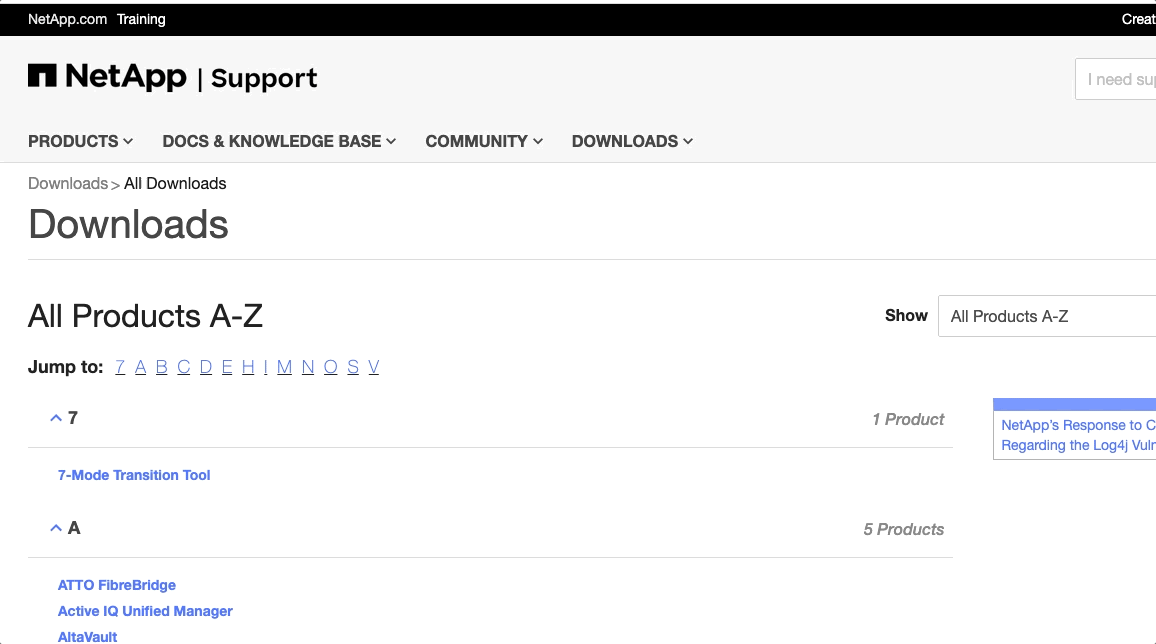
- Begin by downloading the installation software. Download it from the NetApp Support Site here.
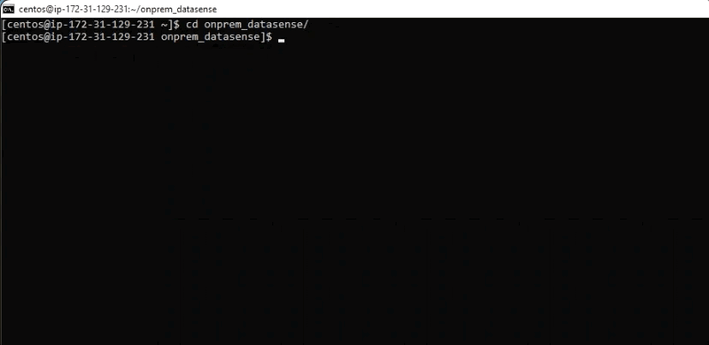
- Connect via SSH to your prepared virtual machine (VM). Copy the downloaded installation software to the VM and unzip it.
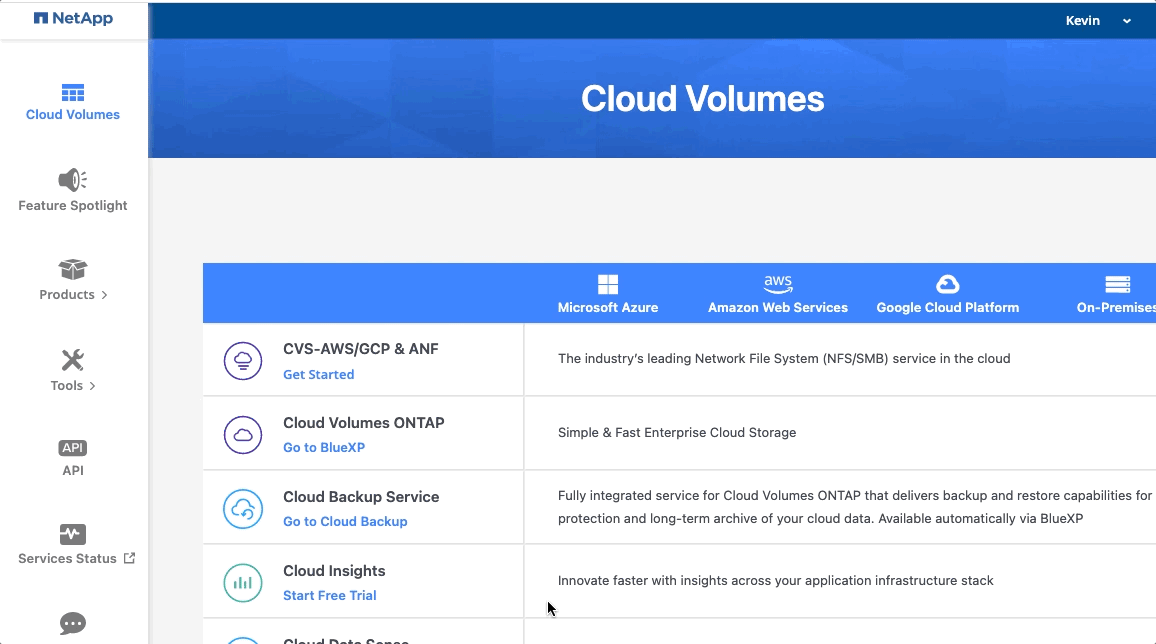
- Now navigate to the BlueXP home page. Click on the “Go to Console” button to open the BlueXP console, as shown below.
- In the BlueXP console, select “Governance” in the left-side menu, then click on “Classification,” as shown here:

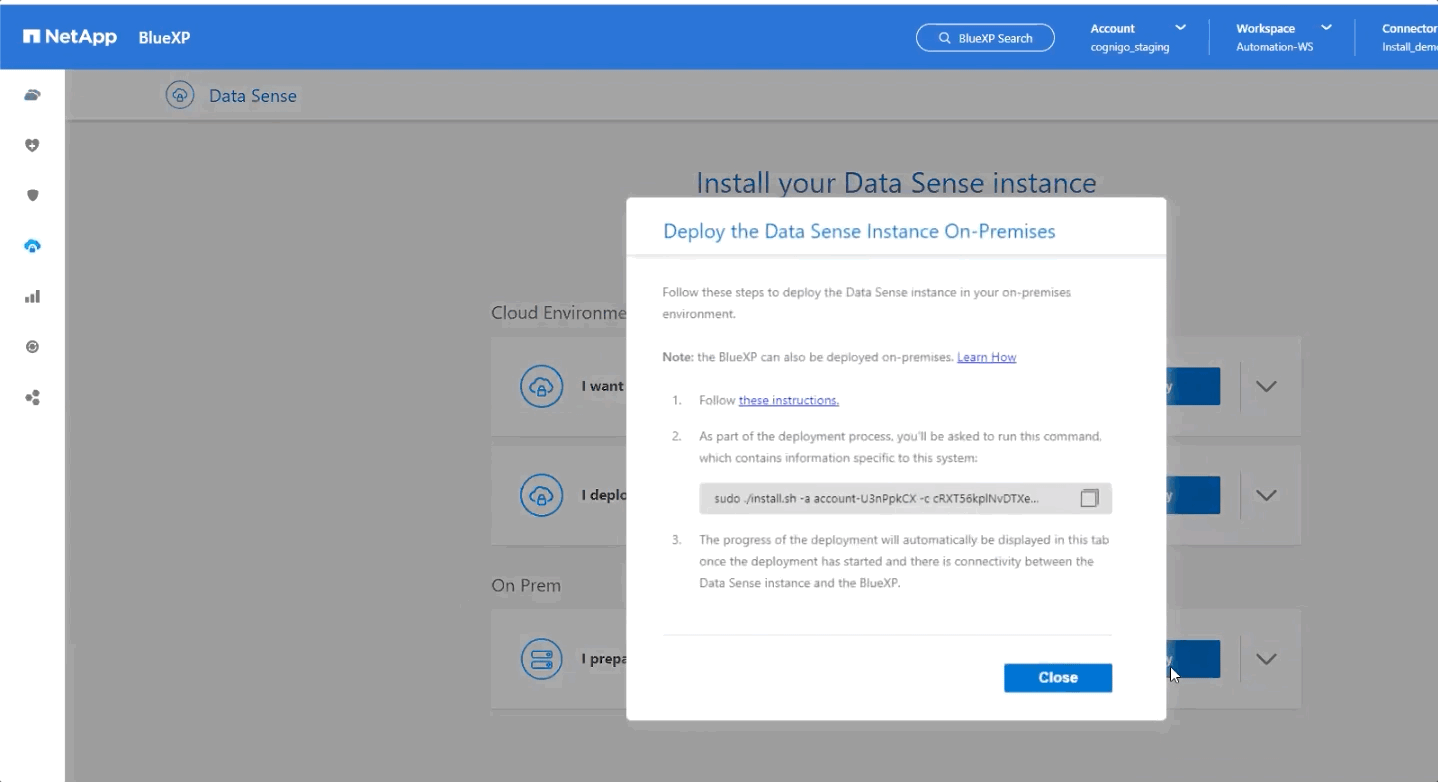
- On the following screen, click on the “Activate Data Sense” button. Select the “On Prem deployment.”
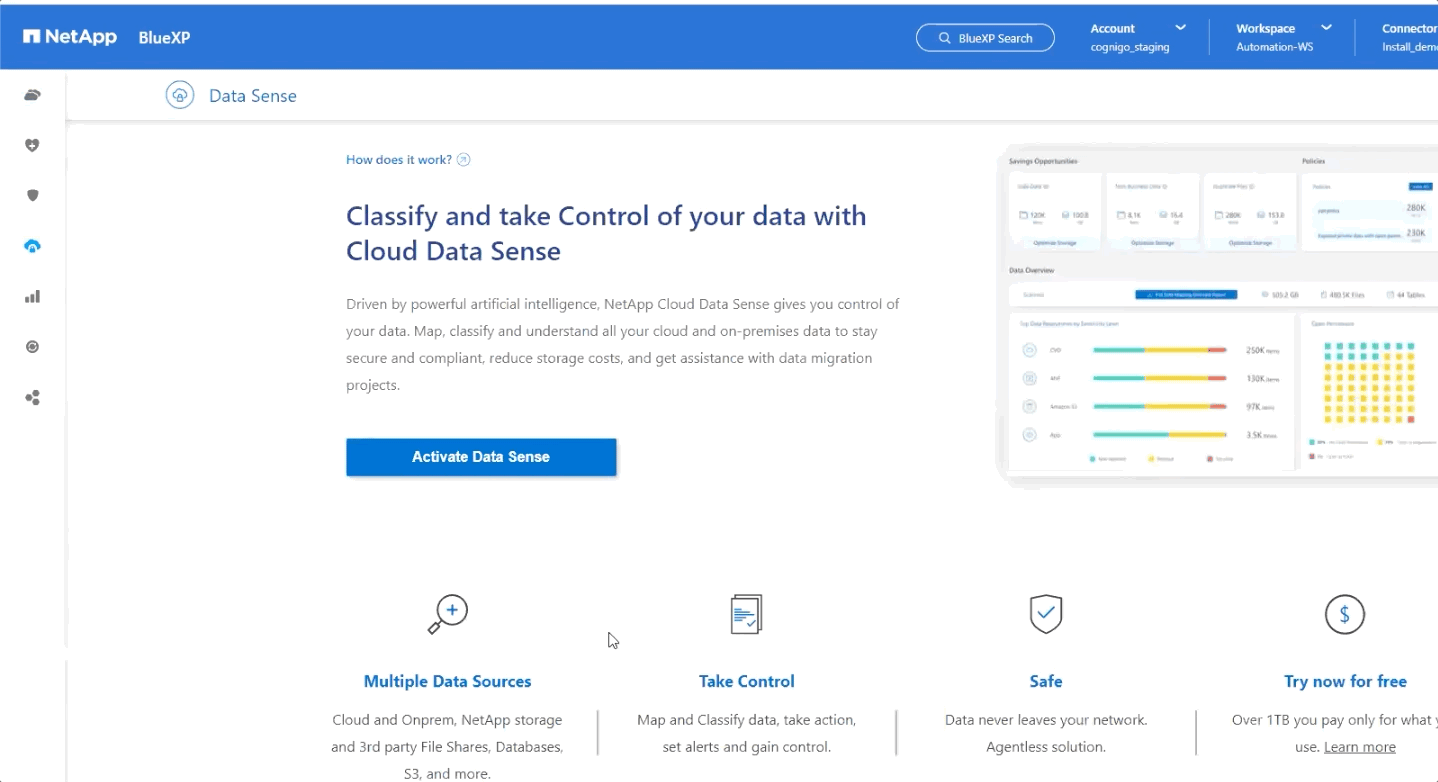
A dialogue box will then appear with further information about the deployment.
- Copy the installation command provided.
- Paste the installation command into the command prompt in your prepared VM.
- Next, enter the parameters required for your installation at the following series of prompts.
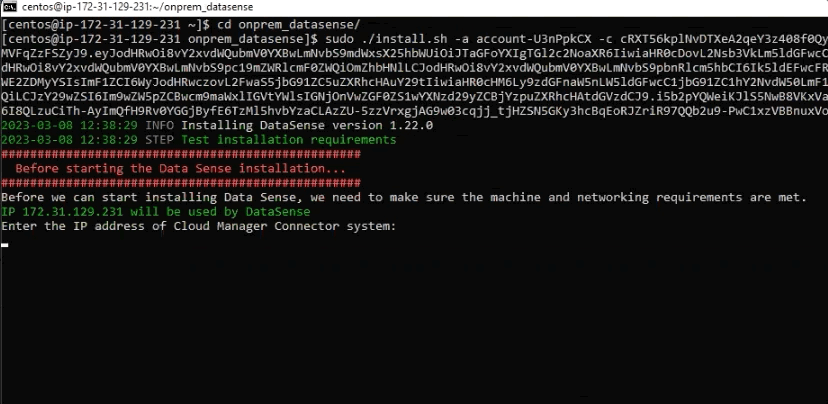
These include the IP address of your BlueXP Connector and, where necessary, the proxy settings of your system.
- The installer then performs a series of tests to check whether your configuration meets the system and network requirements for successful installation.
Results of the test will be displayed in red, amber, or green to indicate whether a setting is unsuitable, suitable but with scan speed limitations, or good to go, respectively.
In the example below, the user is able to install Data Sense with limitations and decides to proceed.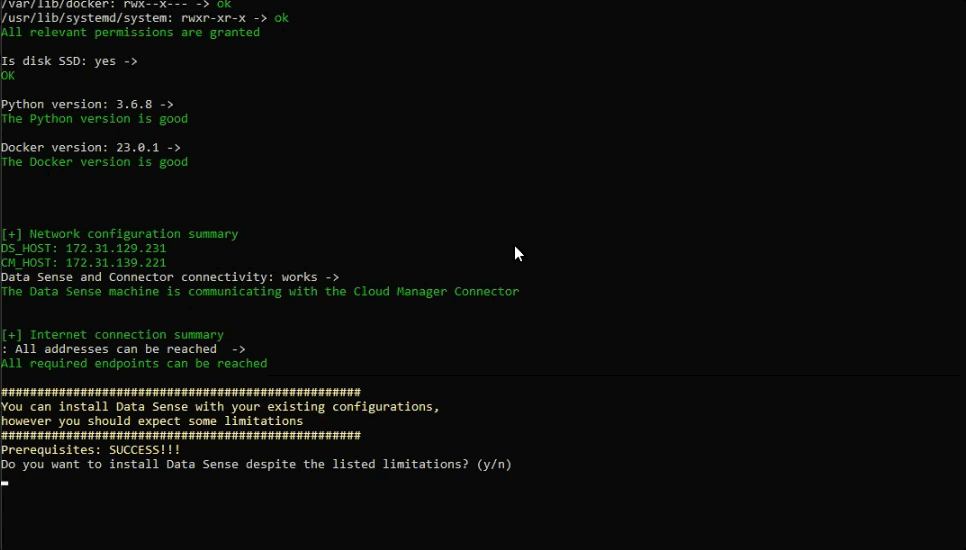
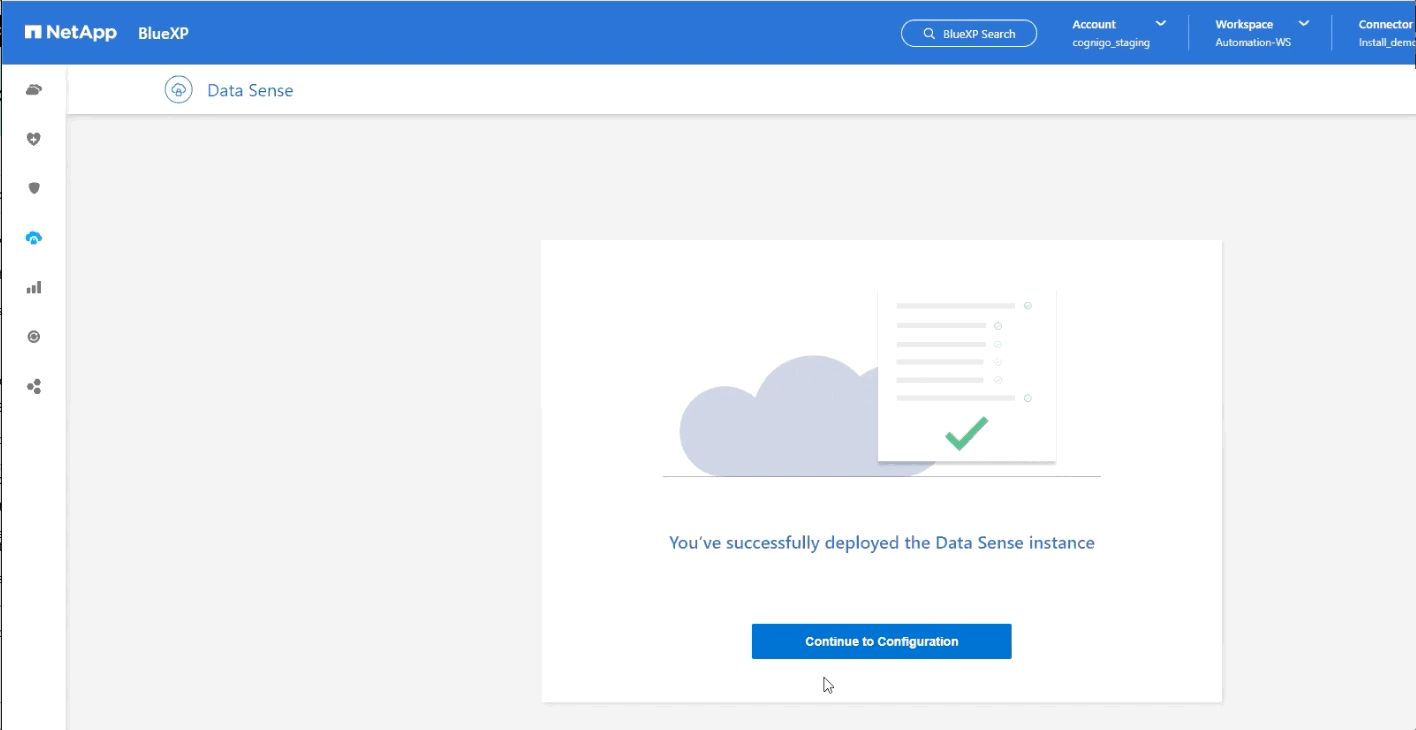
- The installation process then takes 10–20 minutes to complete. While you're waiting, you can go back to BlueXP to confirm the installation is in progress.
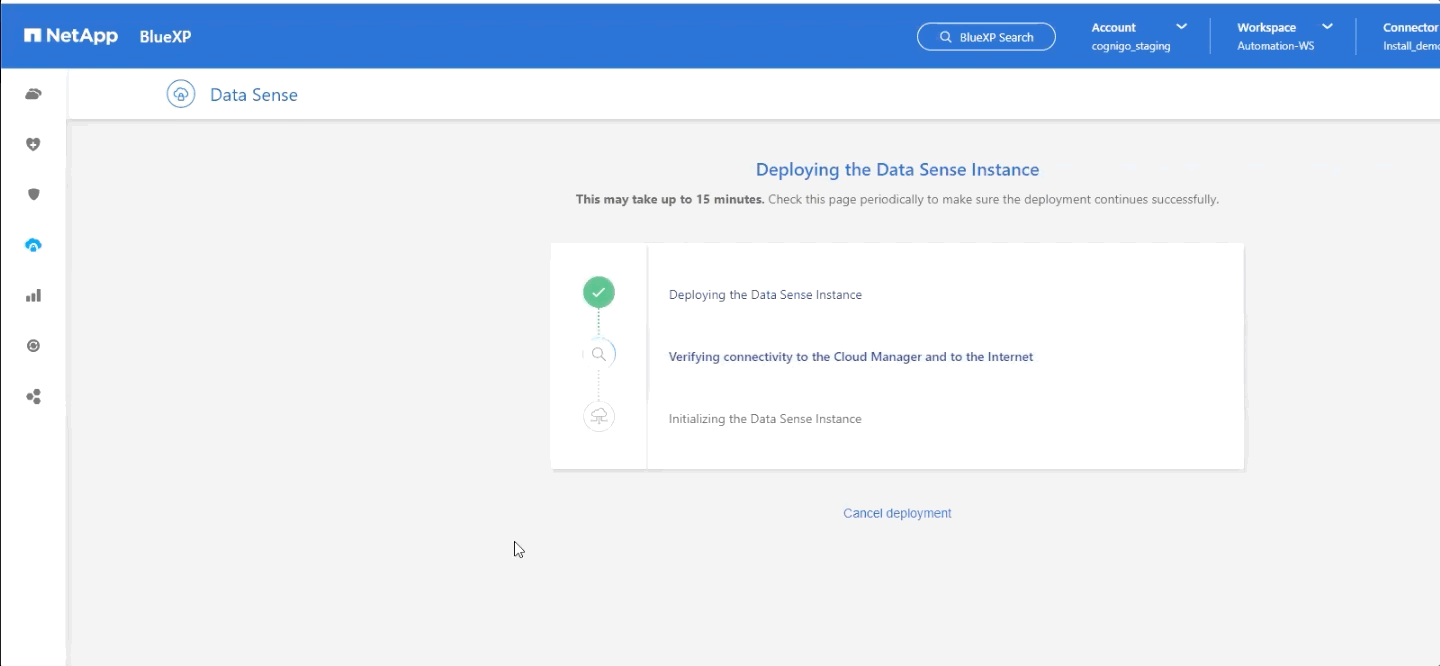
- Once it has finished, you can then proceed to the Configuration page in BlueXP and start adding data sources you want to scan.
A Setup to Suit You
This post walked you through all the key steps involved in a basic Data Sense on-premises installation. However, you can choose from a number of alternative implementations and customized setups to suit your own specific needs.
For example, you can deploy Data Sense to an instance on any of the three leading cloud platforms—AWS, Microsoft Azure, and Google Cloud Platform. For customers with security demands that don’t allow the use of the Internet, you can install the BlueXP UI locally without the use of an Internet connection.
Users with extremely large systems that have petabytes to scan have the option to install using multiple hosts to increase processing power.
Whichever installation method is right for you, Data Sense will work the same.

