Share
To truly benefit from Google Cloud Storage, it’s important to leverage its managed services and continuously explore the different features they provide. This enables you to really reap it’s perks by simultaneously creating value faster and reducing costs and engineering complexity. The Persistent Disks in Google Cloud Compute Engine are a good example of this, with some interesting built-in features such as the ability to create an image.
In this post, we will take a look at how we can create custom virtual images from a Google Cloud Persistent Disk and with that, enable a faster bootstrap process to your applications running in Google Cloud Compute Engine, which can greatly enhance your Cloud Volumes ONTAP deployment on Google Cloud.
What are Virtual Images in Google Cloud Compute Engine?
Virtual images are the cornerstone of instance deployment in the public cloud. Often referred to as templates or bootstrap disks, these virtual images contain the baseline operative system, and all the application software and configuration your instance will have upon first boot.
Building your own custom Google Cloud virtual image enables a faster bootstrap time for your application since everything you need is already installed in the baseline image. This method is often preferred when compared with the alternative of executing a bootstrap script that installs and configures your application upon first boot. When using load balancers and an autoscaling group, the short bootstrap time makes a significant difference and impact, enabling you to serve client requests as soon as possible.
Steps to Create a Google Compute Engine Virtual Image
A Google Cloud virtual image can be created from any instance. The concept works in a way that the image customization is done in a newly created instance. When all the desired application software installation and configuration is finalized, the instance persistent disk will be used to generate a virtual image.
Creating a Google Cloud Instance
1. We start by creating an instance to be used to generate our virtual image. In the Google Cloud Platform Console, navigate to the Compute Engine dashboard and find the “Create” button under the VM Instances section.2. Choose a name and select a region where the instance will be launched.
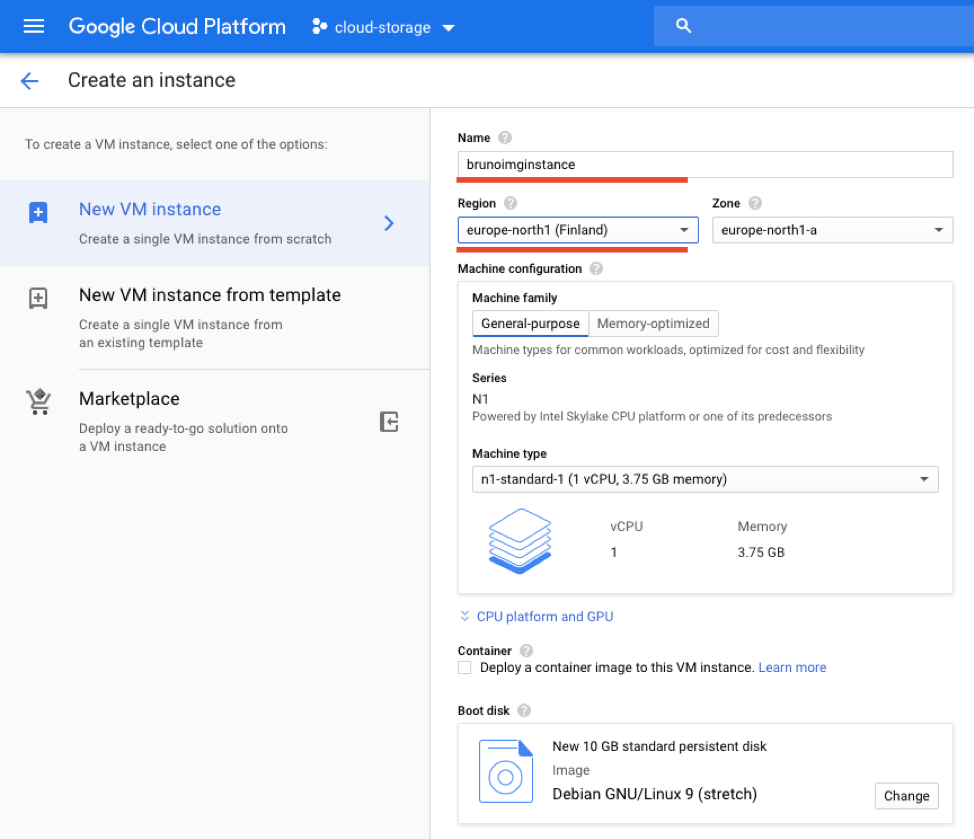 Configure the instance settings
Before pressing “Create,” make sure to enable the “Allow HTTP Traffic.” The reason why this option is required is because we will be configuring a web server application.
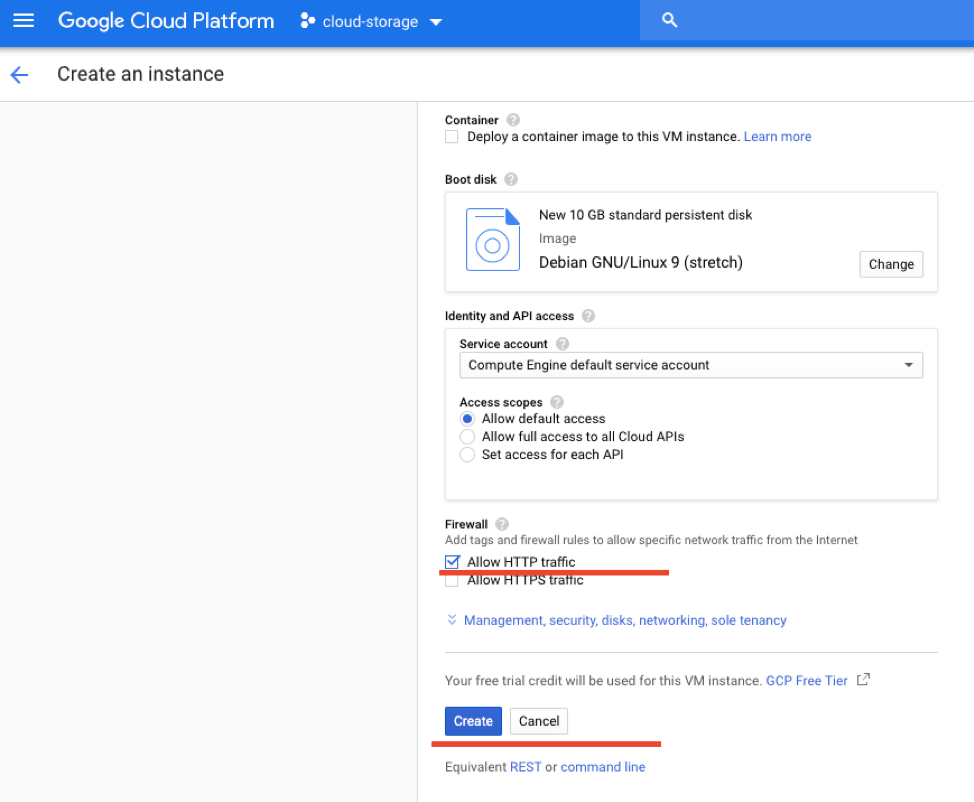 Configure the instance Firewall and other settings
3. Upon a successful launch, the instance will appear in the VM Instances list. Use the “SSH” connect button to open a browser-interactive SSH session.
 The VM Instances list.
Installing and Configuring Your Application
The instance we just launched was based on a minimal template with a clean install of Debian 9. Our goal is to create a virtual image with all the software and configurations our application needs in order to run properly. Therefore, any changes we do to this instance will be part of our virtual image.
1. We start by updating the Debian APT repository list and installing the Apache2 Web Server. To do so, we can use the command:sudo apt-get update && sudo apt-get install apache2 -qy
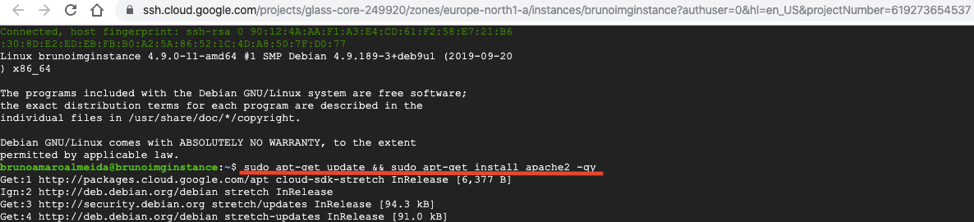 Install your application and dependencies.
echo "My Web Server" | sudo tee /var/www/html/index.htm
 Configure the index page.
Verify your web server is running properly.
Creating a Virtual Image from the Google Cloud Persistent Disk
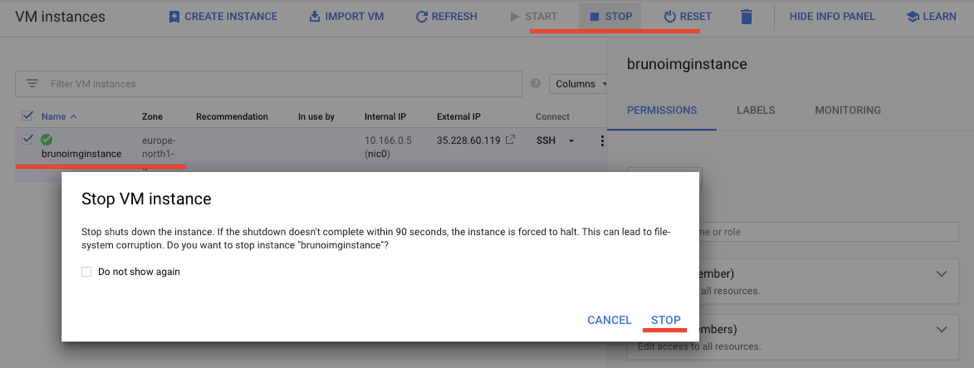
1. Before we create the virtual image from the Google Cloud Persistent Disk, we are going to stop the instance. While optional, this step prevents data corruption and makes the process smoother. To do so, use the “Stop” button in the VM Instances list.
 Configure the instance settings.
2. Navigate to the Disks section under the Compute Engine dashboard. Click on the name that belongs to your instance to enter the disk details section.
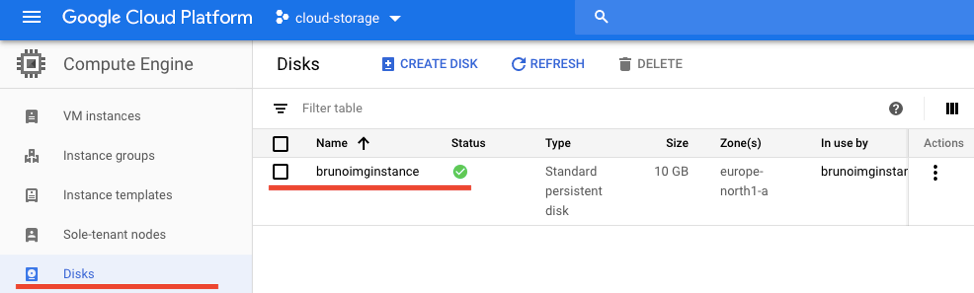 Compute Engine Persistent Disk list dashboard.
3. The disk details section gives you good insights about the instance persistent disk. In addition, it enables the option to create an image from it. Use the “Create Image” button on the top toolbar to initiate the process.
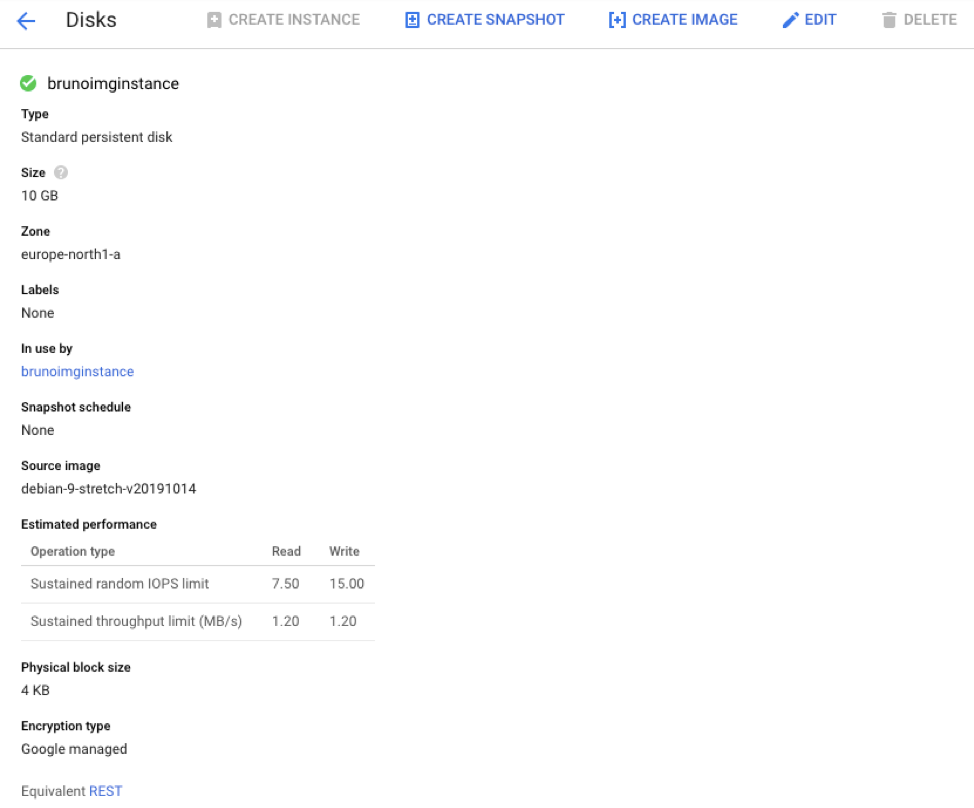 Compute Engine Persistent Disk details.
4. Choose a name to the virtual image and select a storage location from the dropdown menu. Upon pressing the “Create” button, the creation process will begin, and a virtual image will be created from our instance persistent disk.
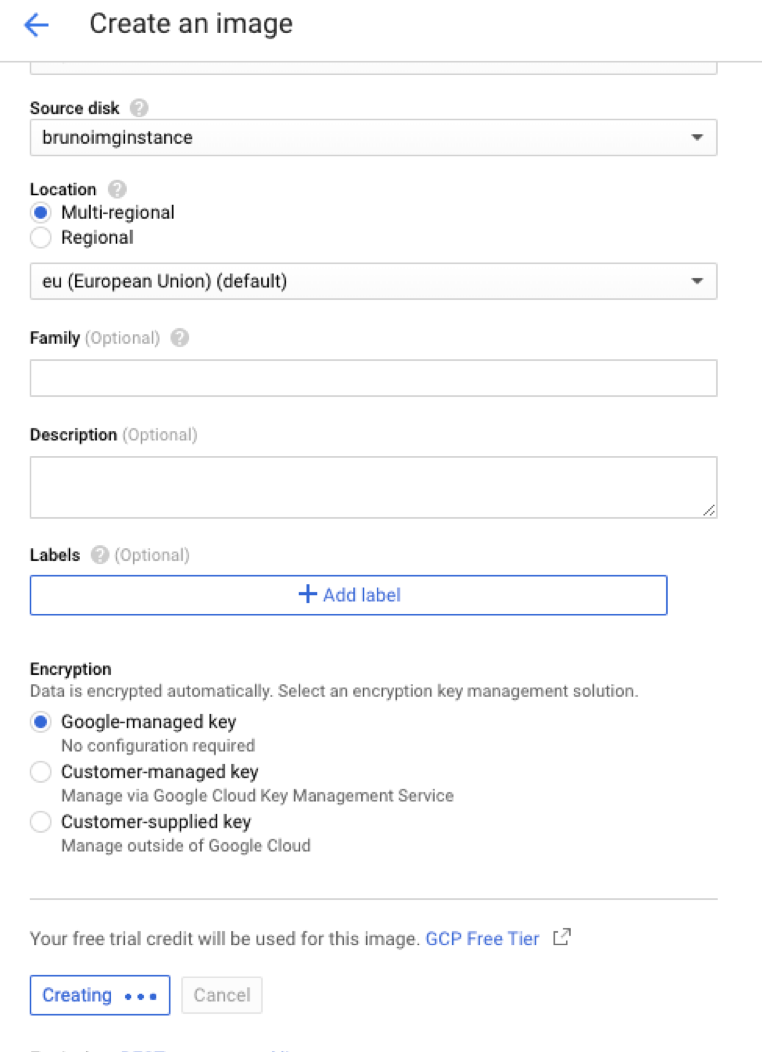 Configure the virtual image settings.
Deploy a New Google Cloud Instance from the Newly Created Virtual Image
1. With our virtual image now available and ready to be used, we can deploy a new instance based on it. The process is similar to our first step, with the difference of the boot disk being our newly created virtual image rather than the default Debian 9.
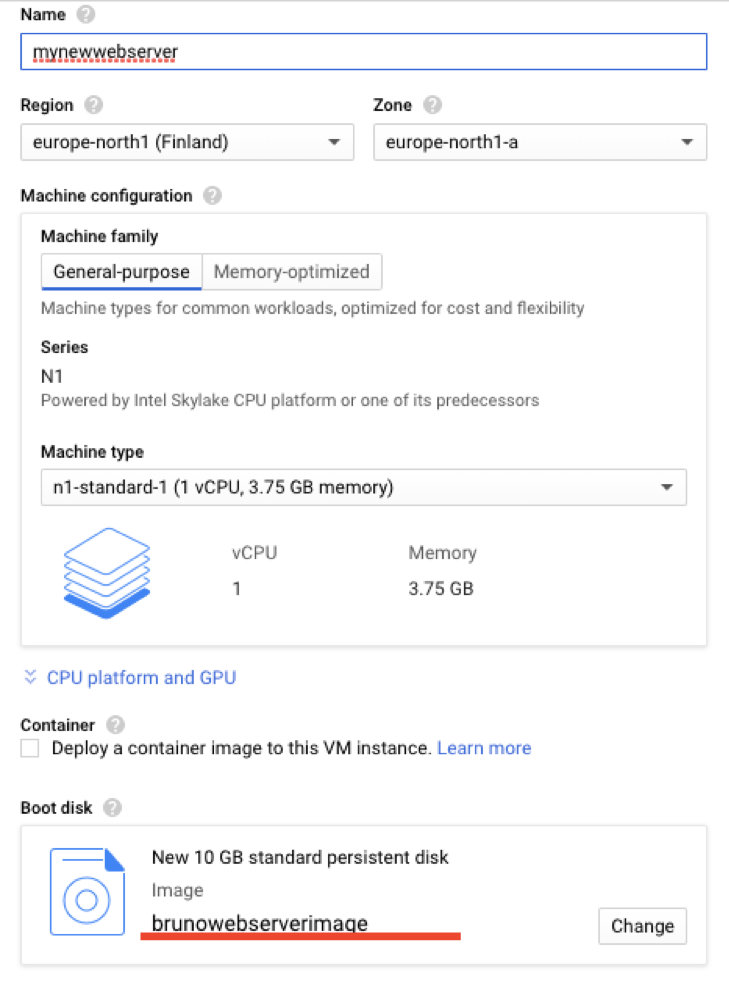 Configure the new instance settings.
2. After the new instance is deployed it will appear under the VM instances list.
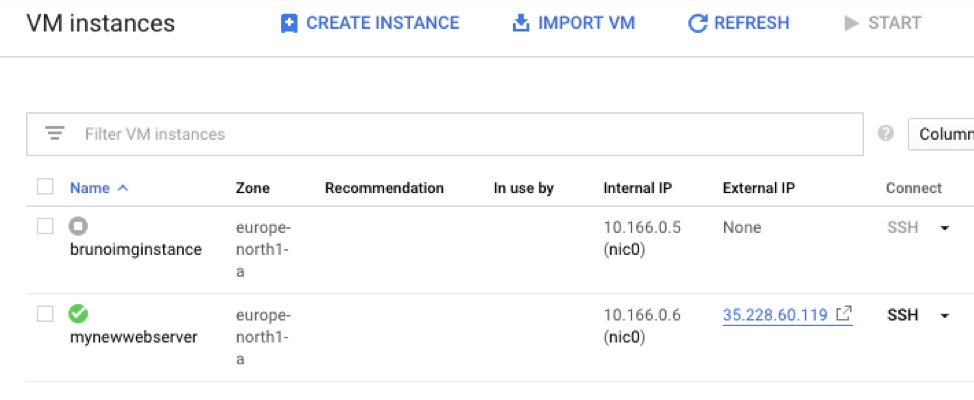 The VM instances list.
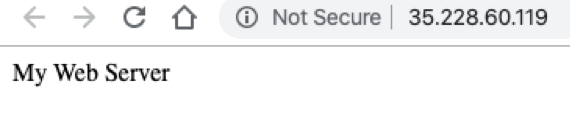
3. Without any further configuration, you can open your browser and visit the new instance IP and verify your web server is running properly.
 Verify your web server is running properly.
Conclusion
Being able to build a custom Google Cloud virtual image is a great feature that opens the door to many interesting possibilities. If you are using Google Cloud Compute Engine Instances, this is a must-have feature that you should leverage while architecting your system.
We covered a step-by-step how these custom virtual images can be created from the Google Cloud Persistent Disk of a Google Cloud Compute Engine instance. This is a simple yet effective method that saves you time and enables your application to get up and running faster without requiring additional configuration during bootstrap. This is an important functionality for any deployment of Cloud Volumes ONTAP on Google Cloud.
What do Cloud Volumes ONTAP provide for Google Cloud Data Management? The very same interesting features such as storage efficiency, data protection and cloning that have made them popular for enterprise deployments on AWS and Azure.

